Beeswax Wraps DIY
It’s Summer and we are obsessed with all that it entails. Eating fresh fruits, going on picnics, and all that jazz! How better to do all of those things than by learning how to make your own beeswax wraps?
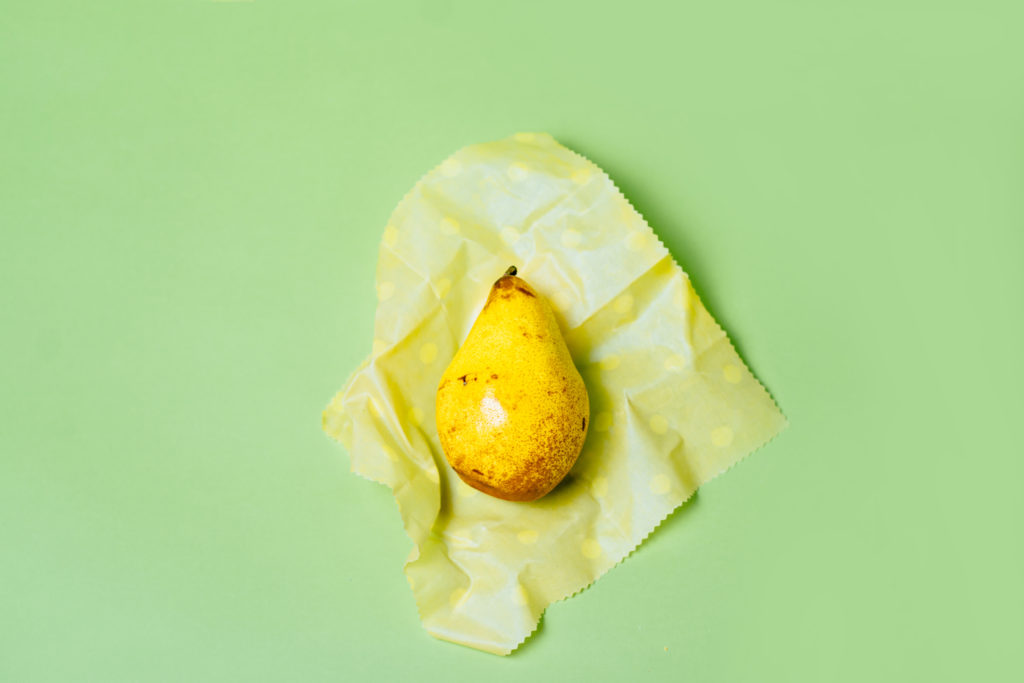
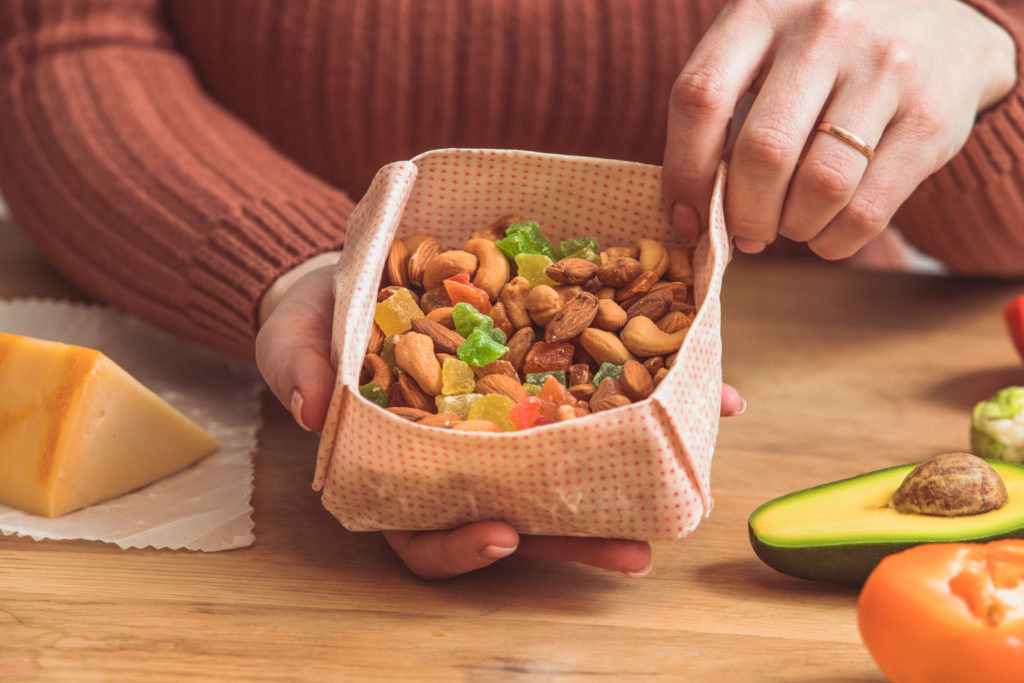
Take some food along on a picnic, wrap up your ice cold bottle of wine to have some more the next day, preserve your fresh fruits, and more!
Plus, they are SO easy to make and only take TWO ingredients. Let’s do it.
Ingredients
- 2 tbsps of Beeswax per cloth (any type works: white, yellow, organic, etc.)
- Cotton cloth of any size
- Spatula usually used for sauce, the one with the spindly look (pictured above)
How To Make Them
It is actually really, really easy to make these wraps.
Step 1- Cloth
To get started, choose a cotton cloth to use as the base for your wraps. However, if you do buy a new one for this purpose or even use an old pillowcase or sheet, it is a good idea to give them a quick wash first. This will soften the cloth slightly and also give you a fresh, clean base for your wraps.
Cut it into the desired sizes you’d like. One thing you can do is trace wash cloths or anything else that seems about the size you’d like for your own wraps and then cut out that shape.
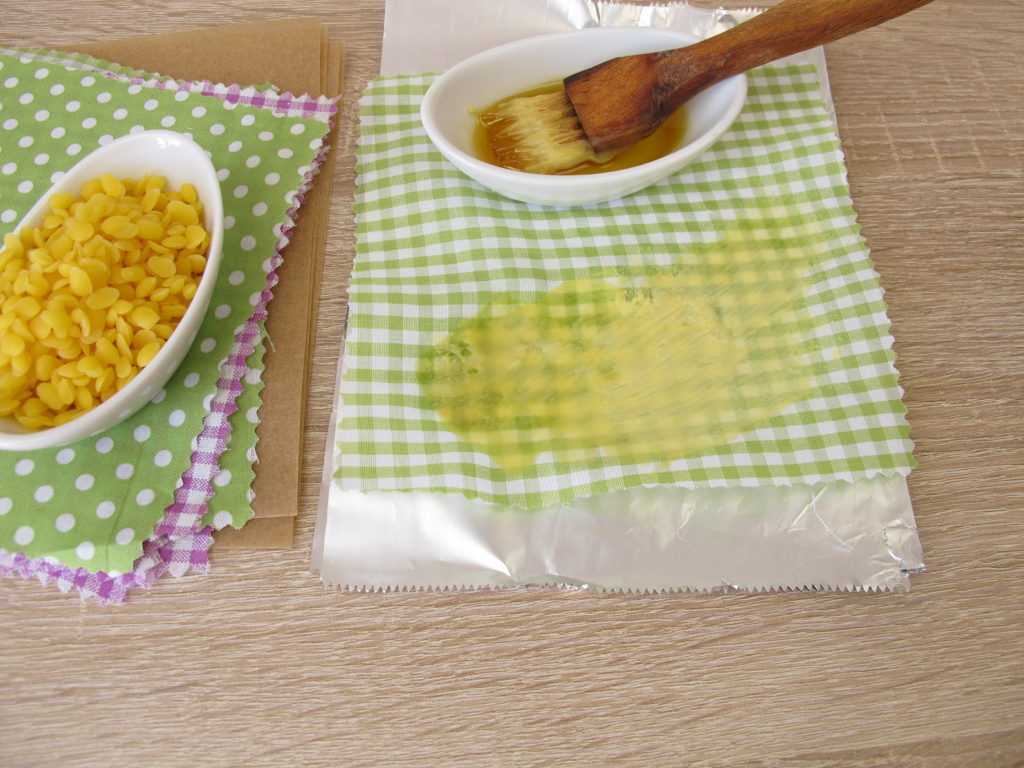
Step 2- Beeswax
Following the guideline of needing between 1 and 2 tbsps of beeswax per cloth, you have to melt it first.
You can melt it in the microwave, in about 30 second increments until it’s entirely melted, or using the double boiling method. That’s the one where you boil a pot of water and in a bowl, resting on the rim of the pan.
When it’s melted, you can get started!
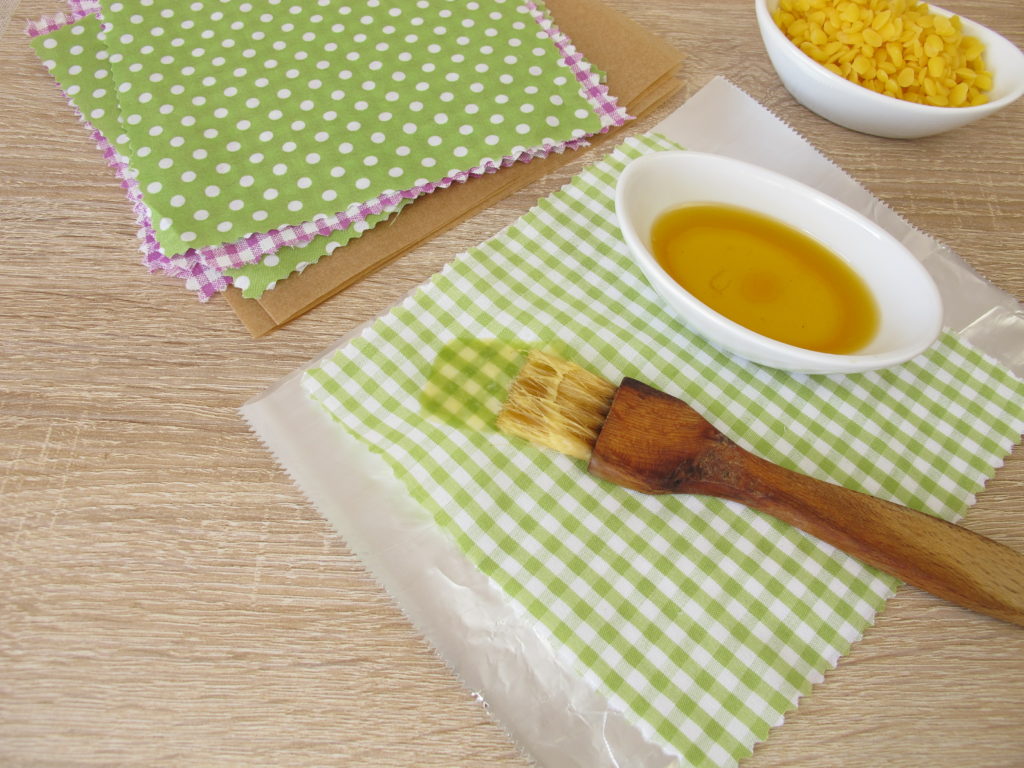
Step 3- Create
All you have to do is spread a thin layer of beeswax over the top of one of your pieces of cloth.
When I do this, I spread a piece of parchment paper over a sheet pan to prevent wax from getting everywhere on the counter or elsewhere. This isn’t necessary but it does help!
Then, you’re going to flip the cloth over and spread a thin layer over the other side.
The last step is then to hang your cloth up to dry. It could be on a drying rack, a dish rack, or something similar.
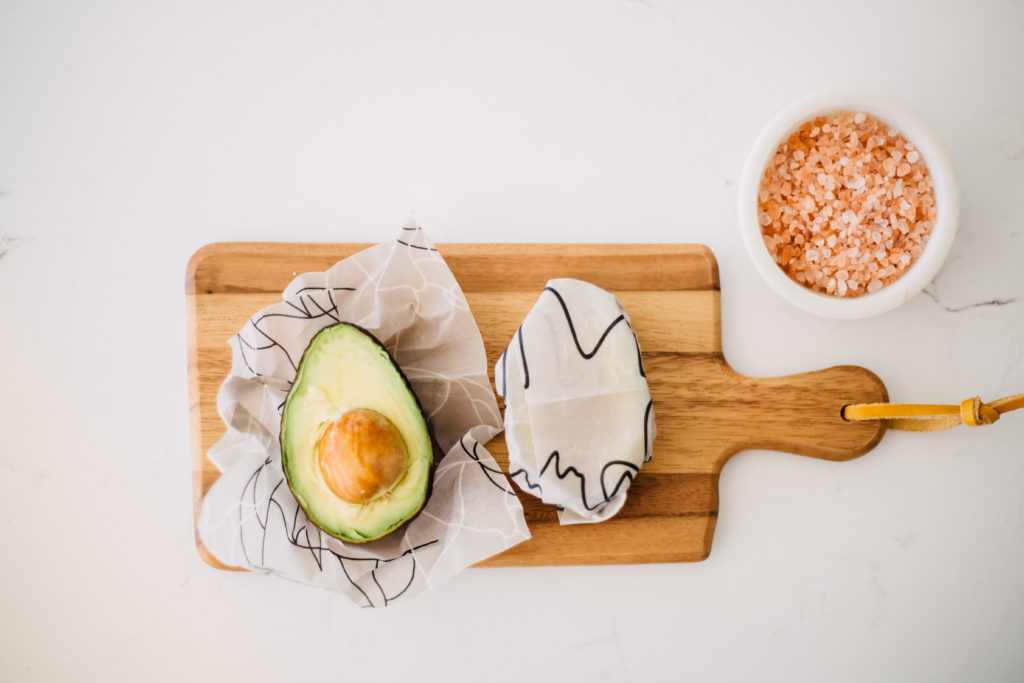
How To Use the Wrap
There are many ways to use these awesome wraps.
To mold the dried wrap into different shapes, simply warm it with your hands, fold it, or crinkle it to fit over the lid of your container, bowls, etc.
How to Clean
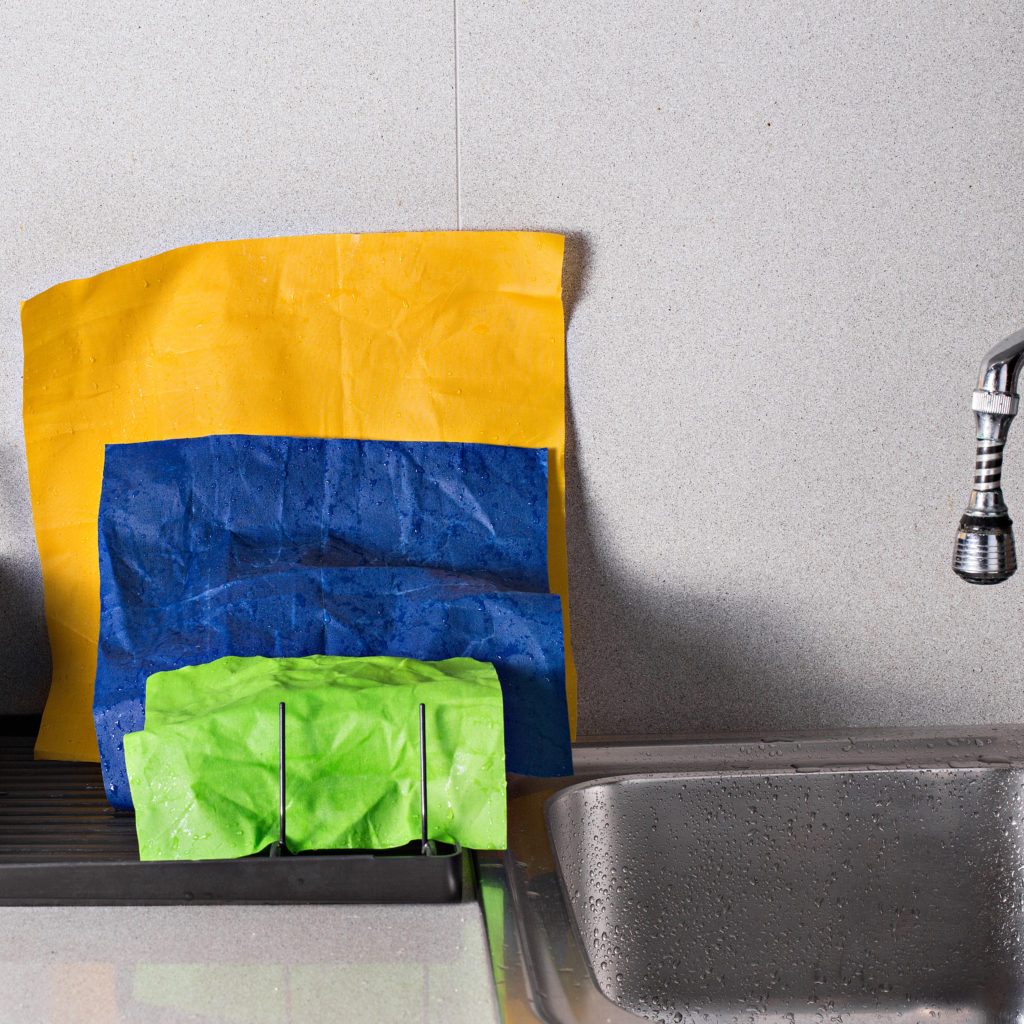
To get your beeswax wraps clean after use you can easily rinse them off with warm water and leave them out to dry, as shown in the photo below.
You can simply spread them out or put them on a drying rack to fully dry before using them again.
Let us know if you try out this recipe or any other DIY bath, body & home products from our blog!
Looking for the best candle making supplies, soap making supplies, essential oils, and more apothecary goods? Check out our website for candle wax, molds, wicks, fragrance oils, jars, and more!
Bulk Apothecary makes no claims of “expert status” and the company will not be liable for any losses, injuries, or damages from the use of the information found on this website.


I have seen wraps with jojoba oil and resin. How would I go about using those as well?
Unfortunately, we have never seen them made this way nor have we tested them with these ingredients. However, we approved this comment and hopefully one of our followers/ a member of our community will be able to answer this for you!