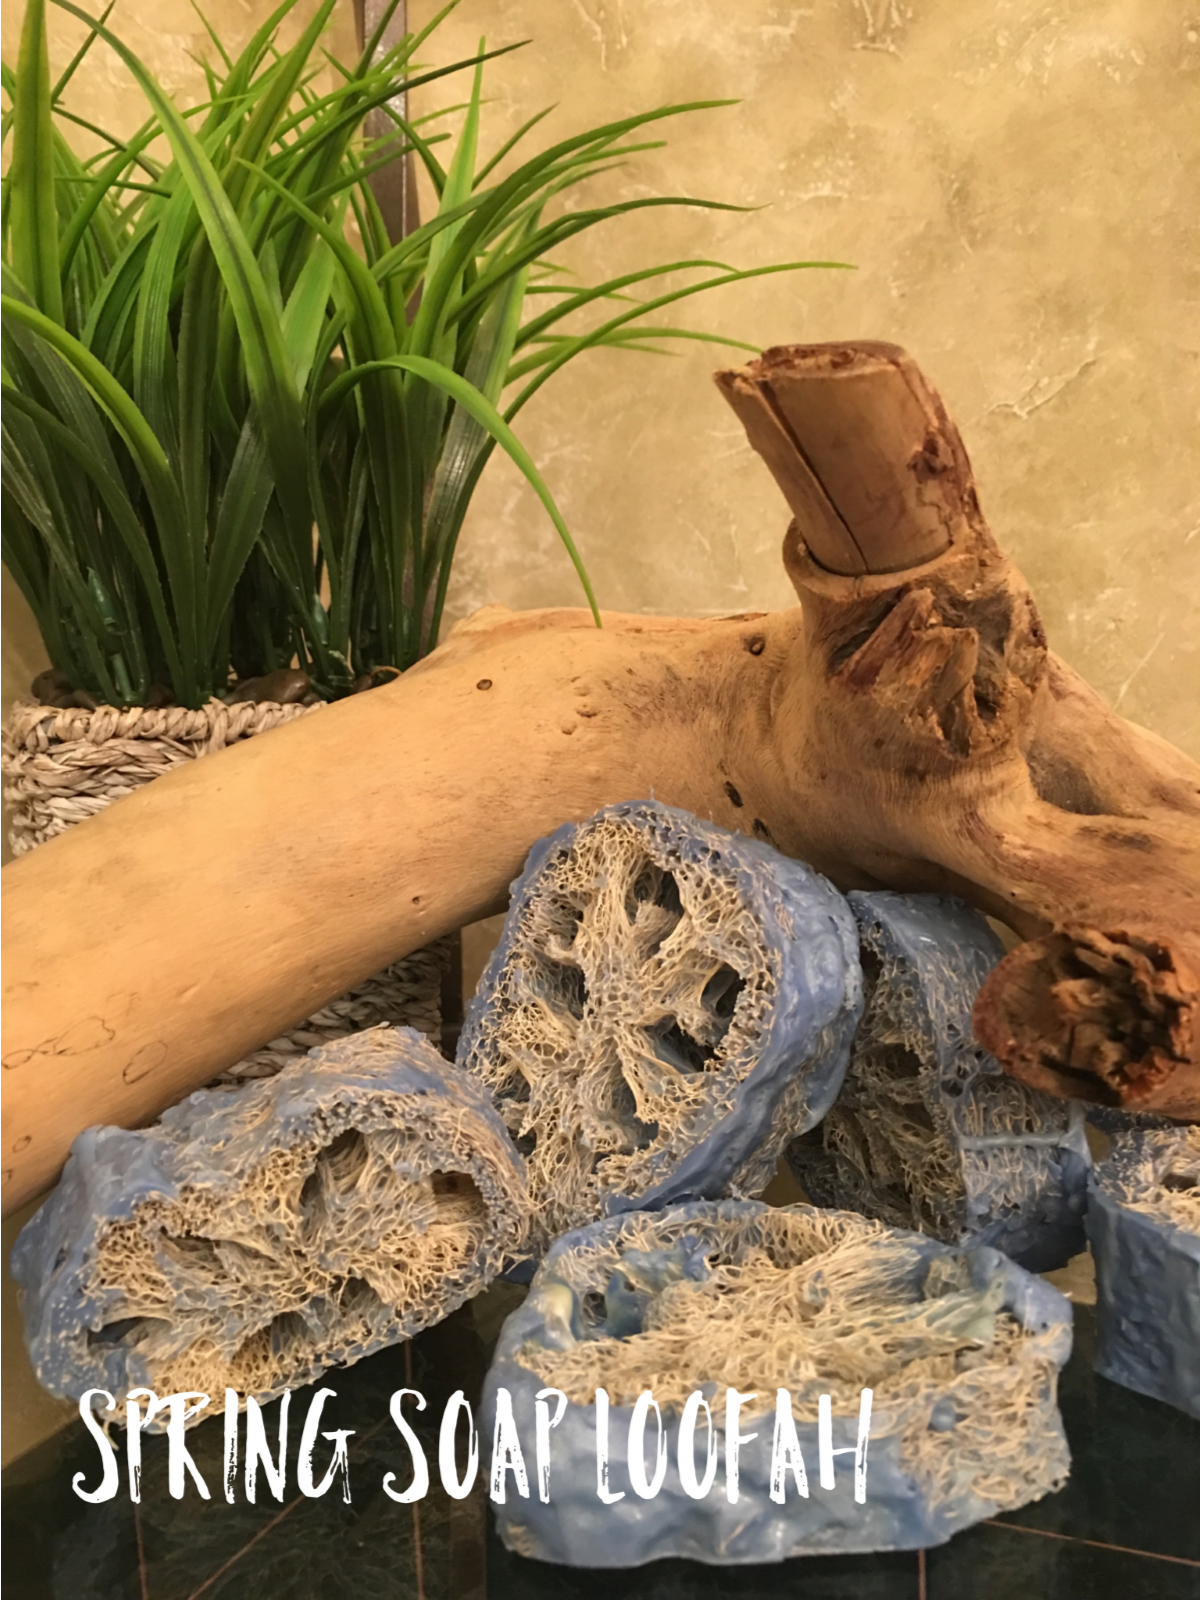
Spring Soap Loofah
Hi Bulkers!
Spring has finally arrived! Let’s all jump up and down! It’s time for fresh air, sunny weather, and blue skies. It also means Spring Break time. If you’re one of the lucky ones headed to the beach this month, we have a great recipe for you. It’s time to get rid of that dull weather skin and energize with an easy DIY soap loofah. Loofahs can be rough on the skin. When using, make sure it’s completely soaked with water and gently use in a circular motion. This soap loofah is especially good for exfoliating the feet, knees, and elbows.
This recipe is a 2 for 1. It’s super easy. The hardest part is waiting for it to dry overnight. You can make this recipe two different ways: slicing before and pouring directly on each piece to completely cover the loofah or by following the directions below.
My boys and I made tye-dyed soap last week and we had plenty of left overs. I will be reusing that soap in this recipe. I’ve included the tye-dyed recipe, if you’d like to try that also.
This kit is now available for purchase here!
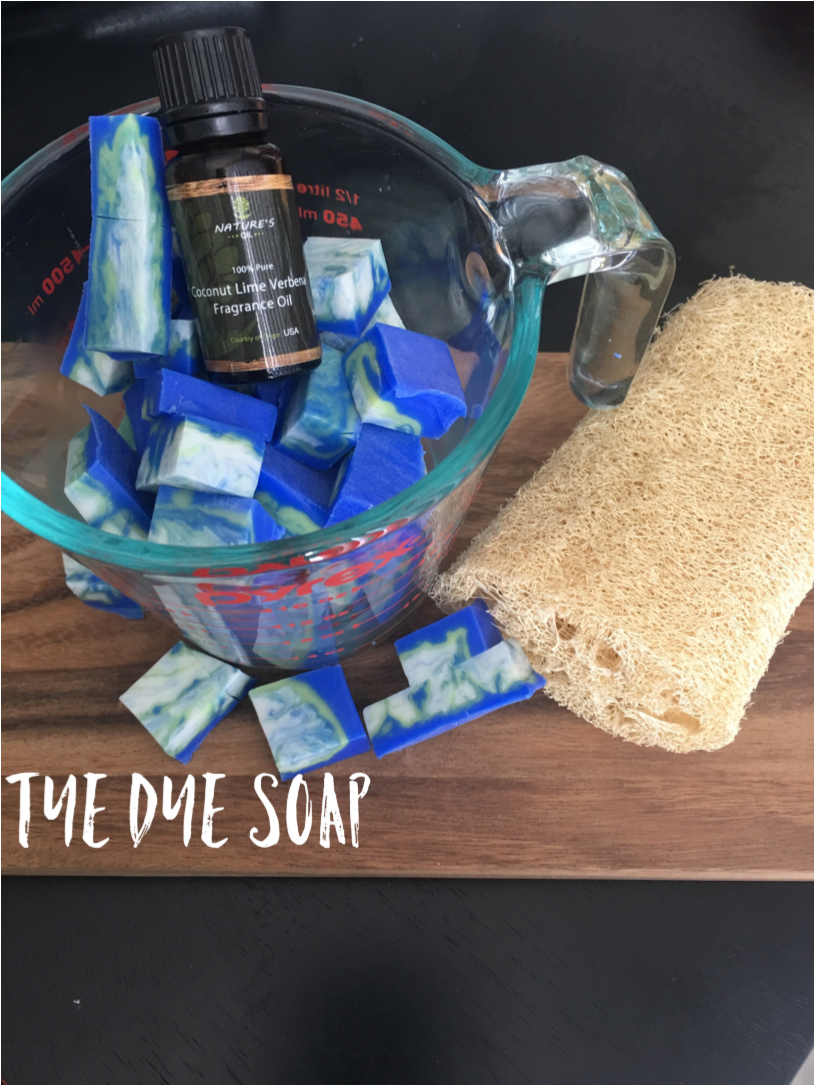
Tye Dye Soap
Ingredients:
2 lbs Castile SFIC (all natural) Glycerin Melt and Pour Soap Base
1 Ultramarine Blue Melt and Pour Soap Color Block
1 Fizzy Lemonade Melt and Pour Soap Color Block
1 Shimmer Super Pearly White Melt and Pour Soap Color Block
.5 oz Coconut Lime Verbena Fragrance Oil
1 Silicone Loaf Mold (10 inch)
Tye Dye Soap Instructions:
Step 1. Cube up all of the soap bases. In a microwave-safe container add 1/3rd of the Castile Soap and all of the Ultramarine color blocks. Microwave until smooth adding 5-10 drops of the fragrance oil.
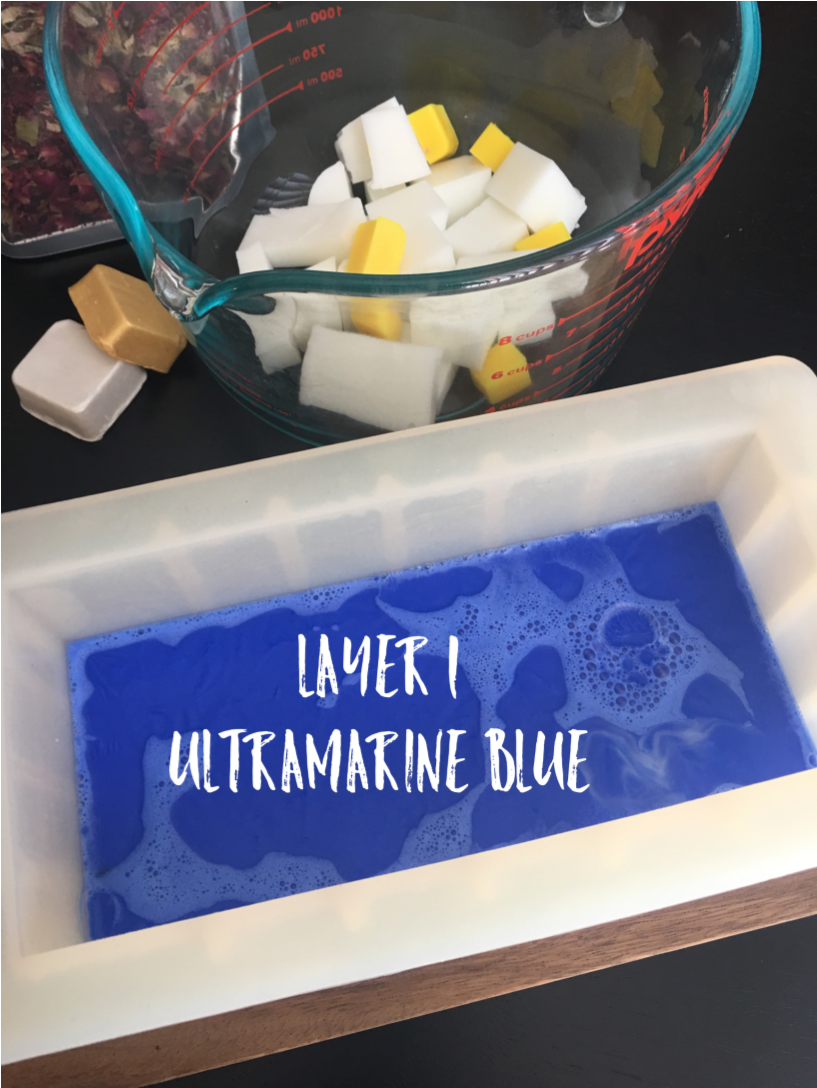
Step 2. Pour the soap mixture in the bottom of your silicone mold. You will need to wait 15 minutes between each layer.
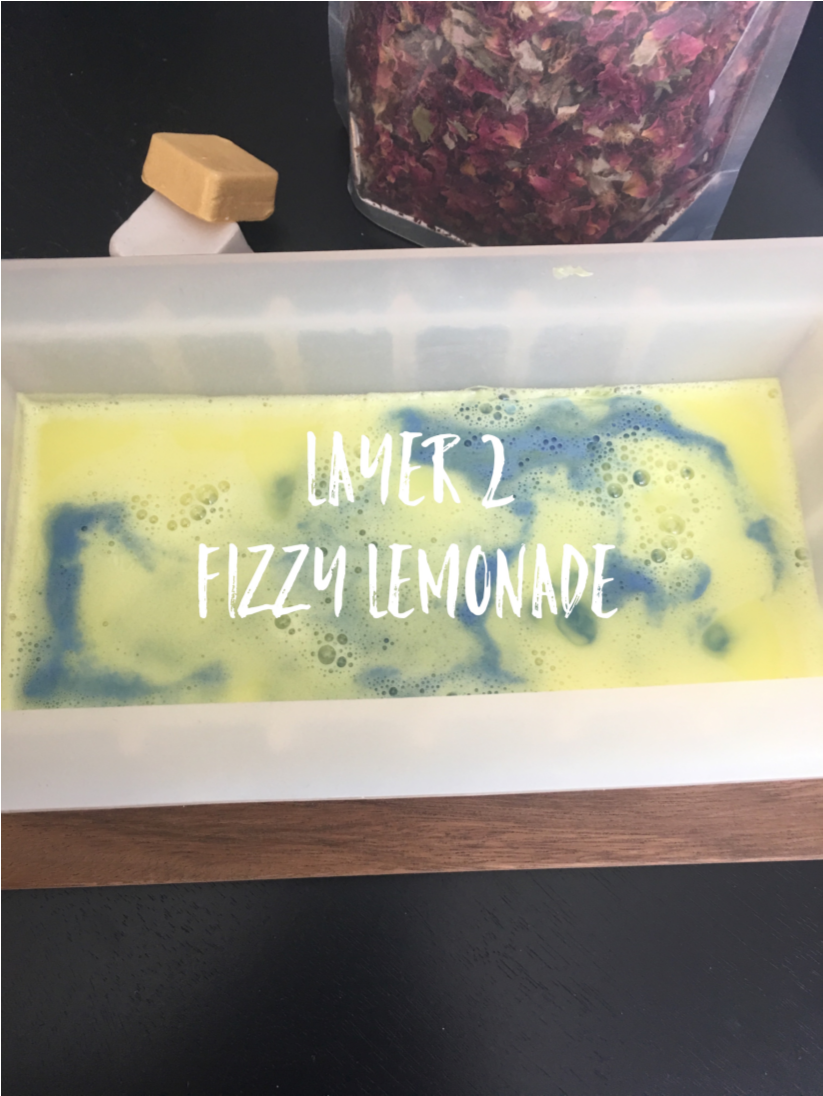
Step 3. Microwave another 1/3rd of the Castile Soap Base with the Fizzy Lemonade Color Block until smooth. Add this layer in your mold.
Step 4. Microwave the last of the Castile Soap Base with the Shimmer Super Pearly White Color Block until smooth. Add the final layer to your mold.
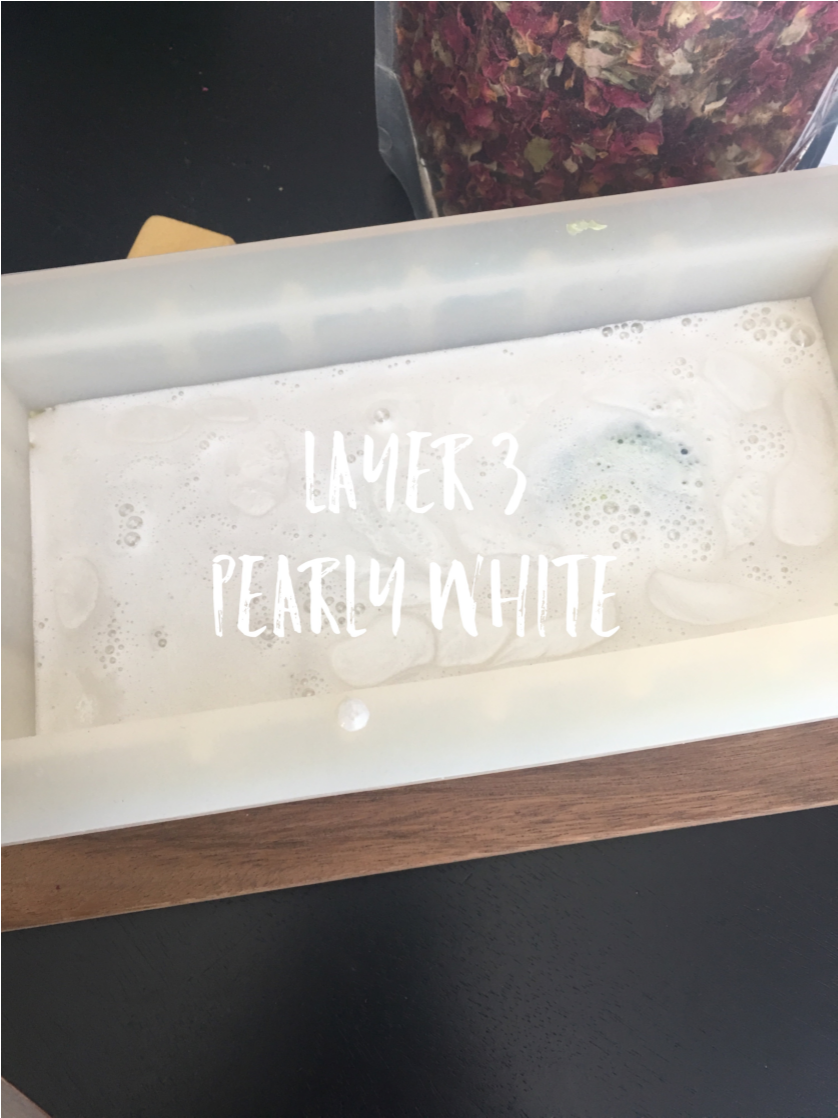
Step 5. Let soap harden for several hours, unmold, and cut.
Spring Soap Loofah
Ingredients:
I reused 1 lb of the Tye Dye Soap from the previous recipe. This is an amazing recipe that can repurpose so many soaps.
Instructions:
Step 1: Melt and leftover soap base. You may add extra fragrance or essential oil before pouring on top of the loofahs (the soap I used was pretty fragrant from the last recipe, so I didn’t add any extra).

Step 2. Slowly pour the melted soap on top of the loofahs, flip over and let the soap mixture saturate the loofahs.

Step 3. Let dry overnight and slice into 1 inch pieces.
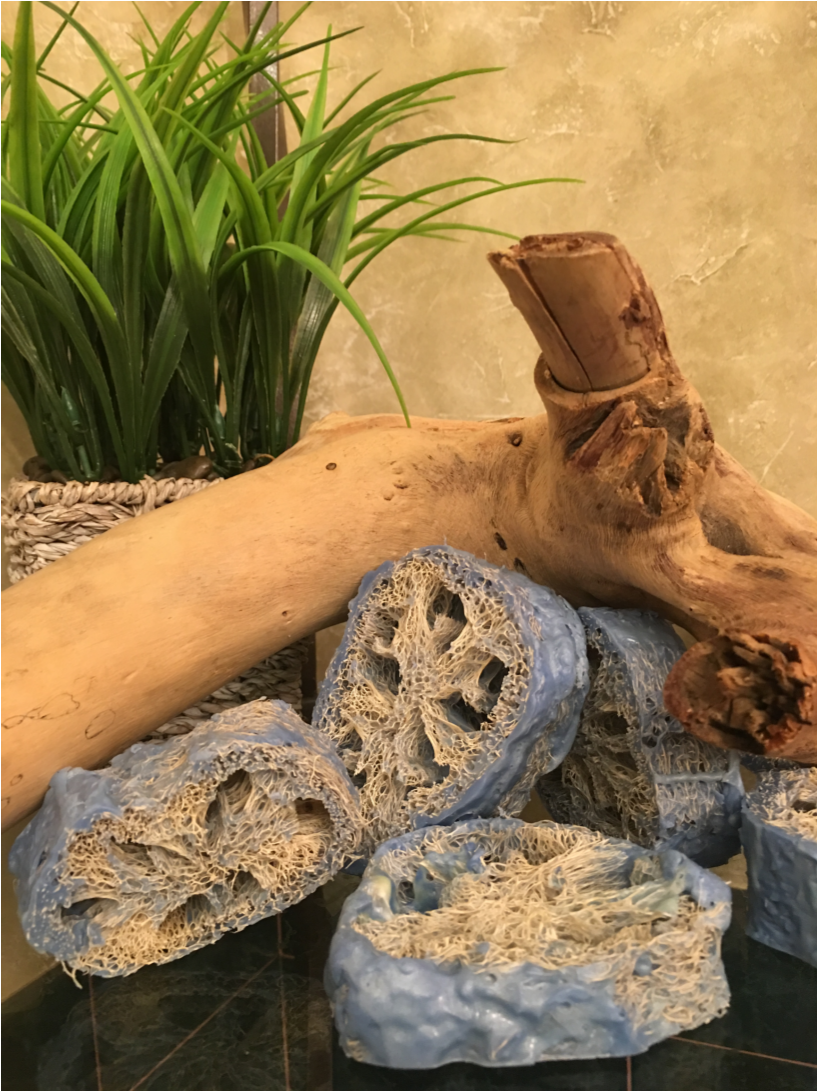
That’s it! Simple and easy. Your skin will thank you.
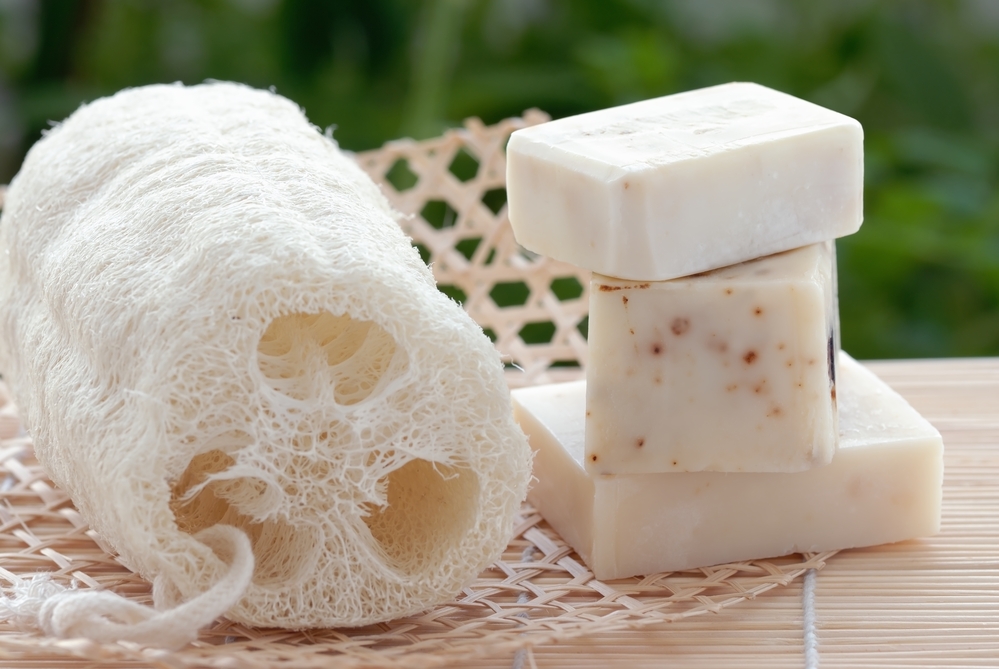
I bought some genuine loofah from a loofah farm I visited in Florida. When I saw the loofah soaps come out I was really excited. The first one I gave to my husband. He told me he didn’t think I’d be able to use it as it was too rough. He was right it as so rough and I really let it get wet to try and soften it. If anyone has any ideas. I am so disappointed.
Carolyn
I’m sorry to hear that; I hope you won’t hurt. Try leaving it to soak for a bit in warm/hot water; hope that helps!
I treat my loofah first before putting them into soap. I let them soak overnight in warm water with a splash of vinegar. Then when I am ready to soap I drain them and pat them dry-ish. They should be soft and moldable. I can now mold them or cut them and when the soap cures it pulls the water from the loofah. I find that when treated like this they become softer when used in the shower or bath.
Thanks for the tip!
Where do you get the loofah from? I didn’t find it on your website if you do sale it.