Crafting With the Kids This Holiday Break!
Chaos Has Returned
We’ve all been there: the kids come home for holiday break, two days in we are out of crafts and ideas to keep them busy.
Sure, you could plop them in front of the TV or their tablets.
But what about a more stimulating, less mind-numbing option?
We came up with a craft for you that’s no-mess (as much as it can be with kids), only a few ingredients, and is a fun activity for you and your kids to do together!
Try it out and let us know how it goes!
What is the Craft?
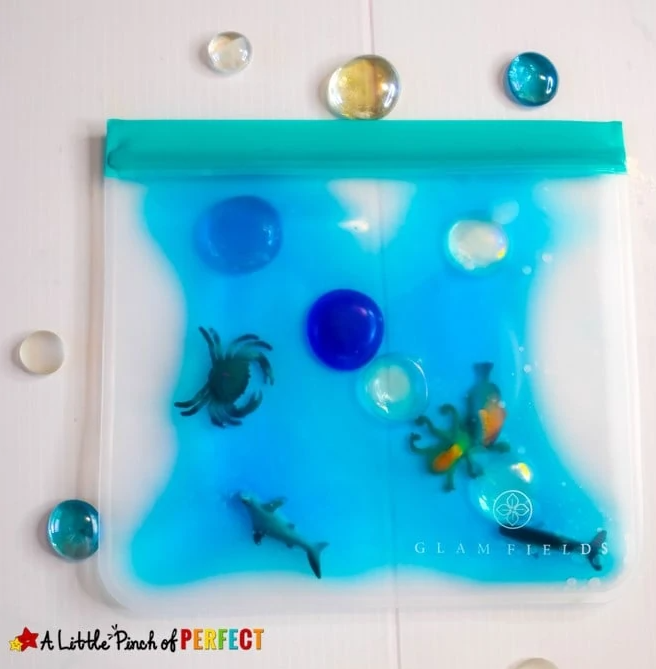
What we’ve got for you is a DIY sensory bag.
While you do need to make sure you seal it super tight, it’s a great alternative to those annoying pop-its, spinners, and cubes kids all have. This one doesn’t make noise!
Can you believe that? A kids’ “toy” that doesn’t make noise? We wish none of them did.
But this only takes a few moments to make with your kids and it will occupy their brains while they’re doing other things, providing them with the sensory stimulation little brains need to develop!
The best part is: it’s good for all ages.
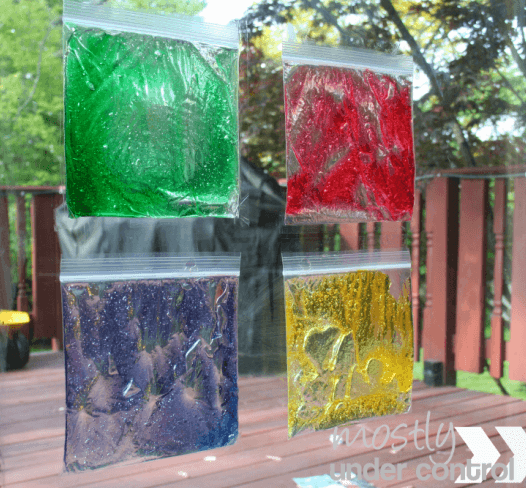
If your kids are babies or toddlers, tape it to the window, like pictured, and let them interact with it. If your kids are elementary schoolers or middle schoolers, turn it into a science lesson about the reaction between oil and water or glycerin and water.
What You’ll Need:
- Gallon Size or Sandwich Bag Size Ziploc Bags (off brand is fine, too)
- Some type of oil or glycerin. We recommend hair gel, baby oil, vegetable oil, or glycerin
- Water
- Food coloring or dyes of some kind (if you have our personal care dyes those will work)
- Duct tape
- Anything fun you might want to add to your bags for your kids to have fun with!
Step 1:
Fill the bottom of the Ziploc with half of your oil/glycerin base and half water.
Step 2:
Add food coloring or dyes if desired
Step 3:
Add any other items you think might be fun to push on and play with for yourself or your children to the bag.
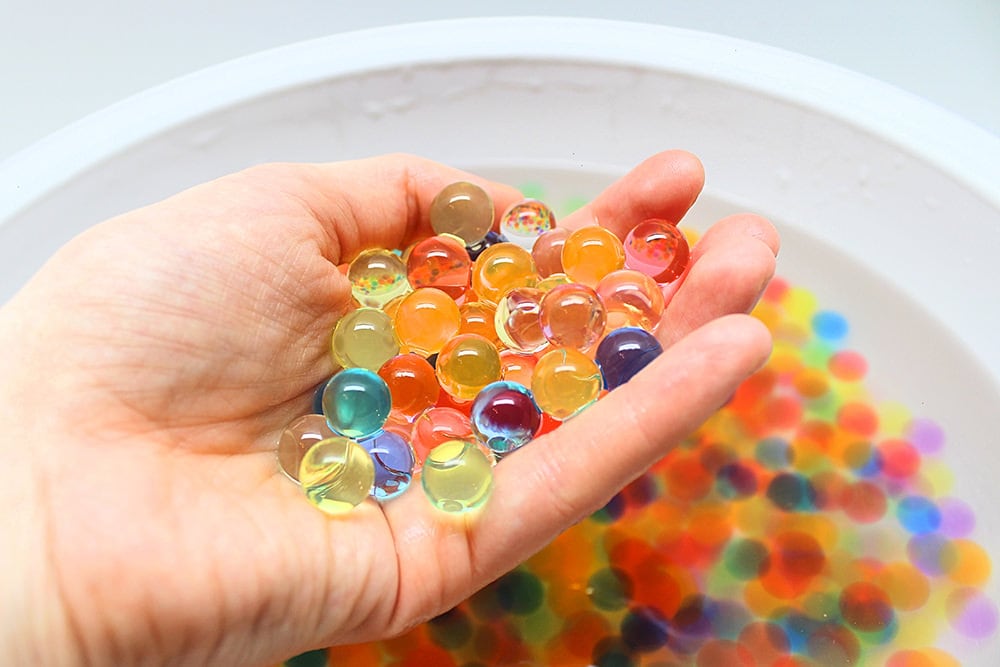
We recommend going to the Dollar Store and finding items that could be fun to add or looking around on Amazon for some exciting things to add! One sensory bag we saw used hydrated water beads from Amazon in their version (pictured below)
Step 4:
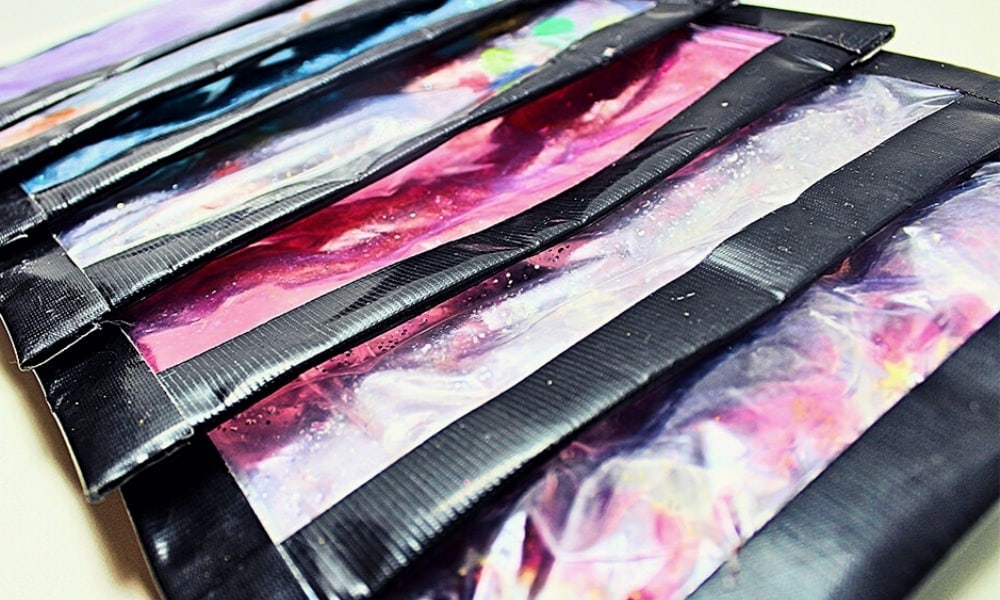
Reinforce ALL seams with duct tape.
You can use colored or themed duct tape for a little more fun or you can just go with the classic black or gray/silver you might already have lying around. Either way, the goal here is to ensure ZERO spillage. You don’t want to have this mixture all over your house!

Themes We Love:
- Adding those water beads! So cool!
- Glow in the dark stars
- Keeping it simple with a bright color. It looks like a lava lamp!
- Glitter
- Specific environments like oceans, jungles, etc.
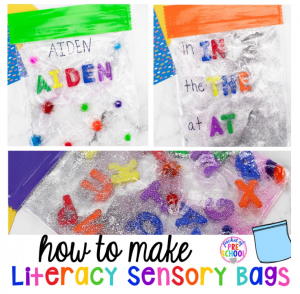
- Educational like name letter drawing and finding

Let us know if you make this craft or any others from our blog!
Looking for the best crafting supplies? Check out our website for the best rustic, boho, or botanical supplies for your crafting and so, so much more.
Bulk Apothecary makes no claims of “expert status” and the company will not be liable for any losses, injuries, or damages from the use of the information found on this website.
As with all products, users should test a small amount prior to normal extended use. If pregnant or suffering from illness, consult a doctor before use.