Make Your Own Candles for Under $25
I must admit, I thought making candles would be easy! I thought it would be a seamless transition from soapmaking but I was wrong.
Sure, you precisely measure wax and carefully mix in other ingredients like fragrance and color the same way you would with soapmaking. You’ve got a double boiler, utensils, and a desire to create.
Except now we’ve got a few more variables: the type of wax, the type of wick, and the type of container needed to execute a lovely candle that creates a long-lasting, fresh or cozy scent to make any house feel more like home.
My goal for this recipe was to help you create your own candles for under $25.00 because I’m the type of crafter that likes to keep budget in mind, as many of our customers. I did all the research and was able to make two gorgeous candles once I figured out the winning formula. If you too are new to candlemaking, I highly recommend Betty Oppenheimer’s book, The Candlemaker’s Companion. It is an excellent resource and I found myself reaching for the book quite often as I navigated this recipe.

Here’s what you’ll need
1 lb. Golden Wax 464 (aka 5702-02-02)
0.5 oz. Lilac and Lilies Fragrance Oil
Cart Subtotal: $24.15 (plus shipping)
Additional Supplies
Large heat-safe bowl of pitcher
Double boiler
Spatulas
Wooden Dowel (a pencil will work!)
Thermometer
Let’s Get Started
Begin by measuring the wax; 7.5 oz. for each container. This total 15 oz. of wax required for this recipe, so just about the entire 1 lb. bag of wax flakes will do. Place on medium-low heat on a double boiler, stirring occasionally.
Take advantage of this time and begin preparing your wicks.
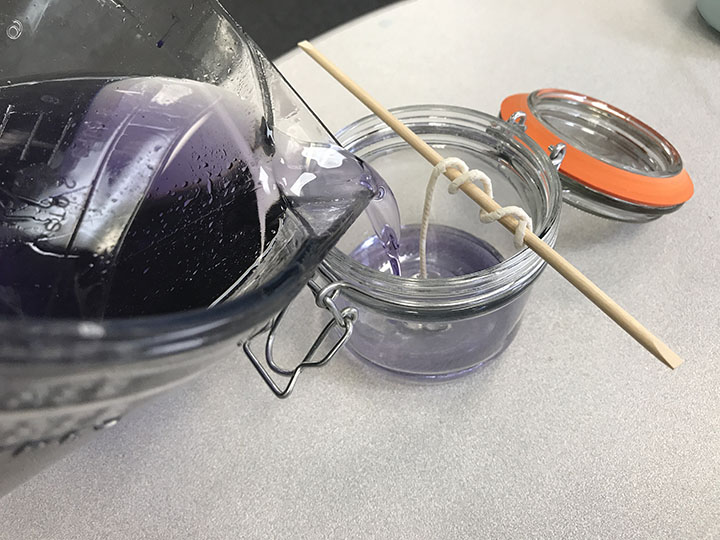
Our Wick Stick’em Tape is an easy, hassle-free way to properly adhere candle wicks to the bottom of the container. It’s as simple as press and peel! If you don’t have any of these, try using some hot glue or even a dab of hot wax. Make sure the wick is centered to ensure a proper burn pool (the melted wax that forms as the candle burns). I recommend standing above the jar while placing the wick for better visualization.
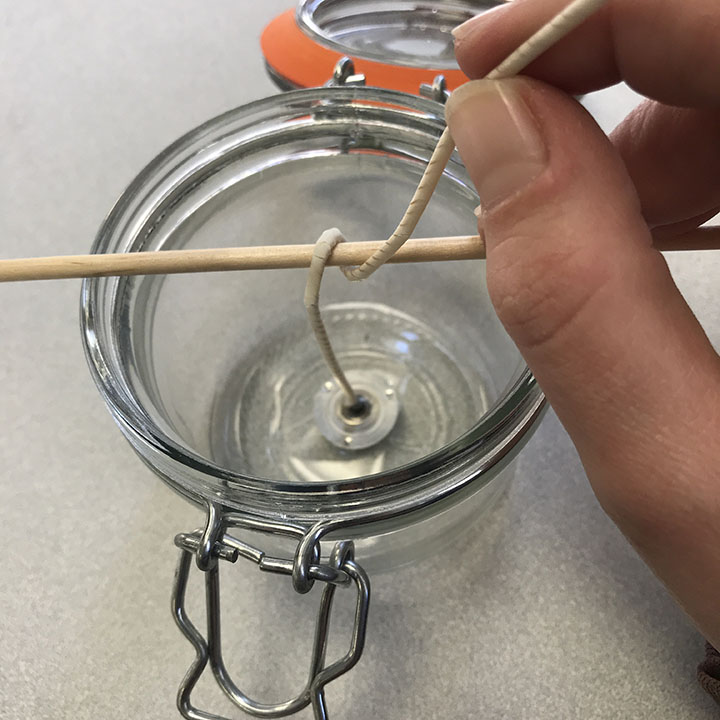
I used a wooden manicure stick because I happened to have some on hand, but just about anything will work – a dowel, a pencil, a pen. Get creative with the tools you already have! After the wick is placed, wrap the remaining wick around the stick so the wick will remain upright as you pour the candle and allow it to cool.

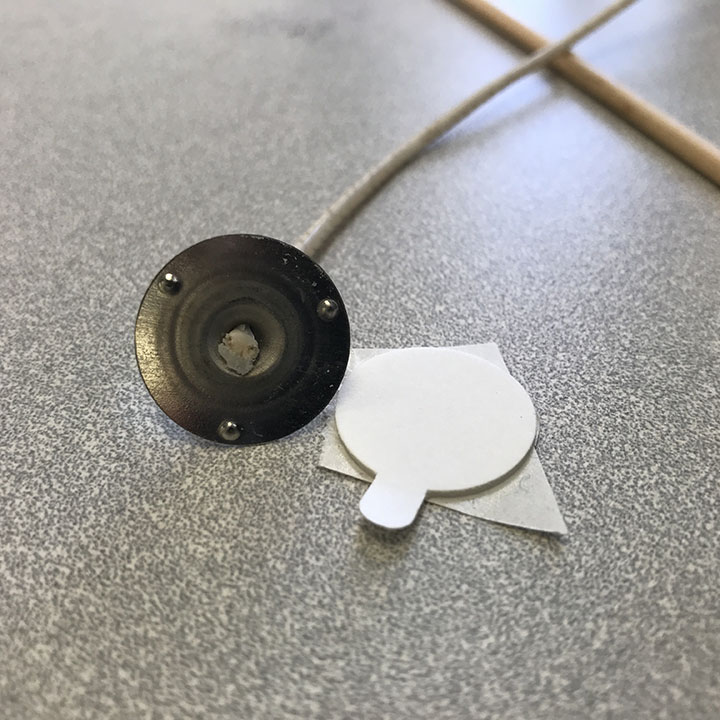
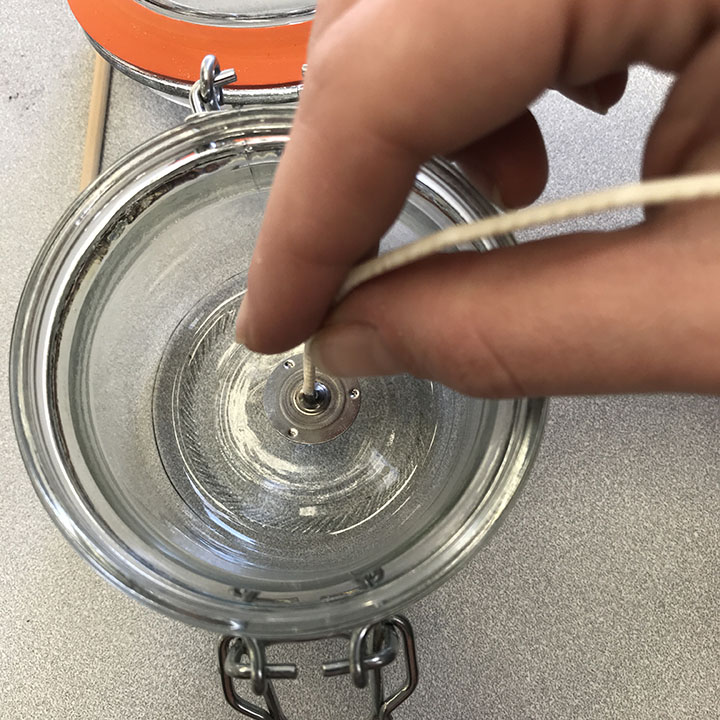
For the Mini Heremes jars, I chose our CD-10 Cotton Wick because it is designed to fit medium to large containers. Choosing the right wick is a determination based on the type of wax you are using as well as the dimensions of the container in which the candle will be poured. Wicks vary in thickness to accommodate most all container sizes.
Preparing the Wax
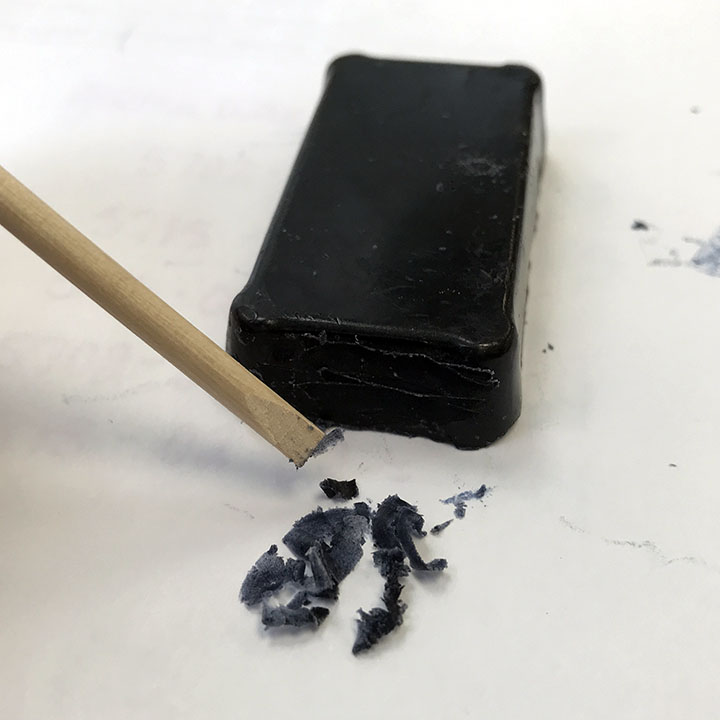
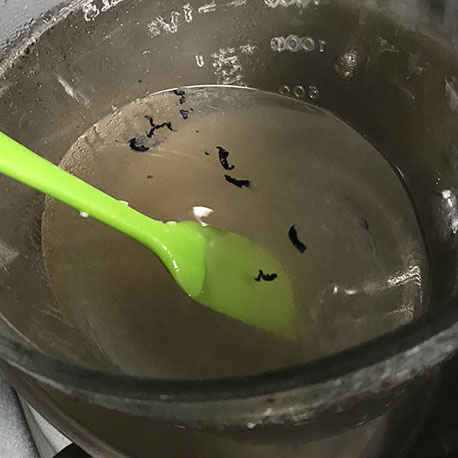
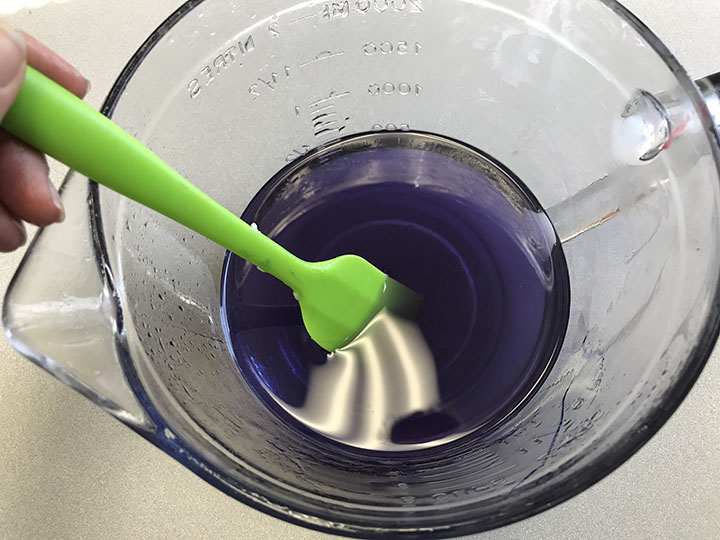
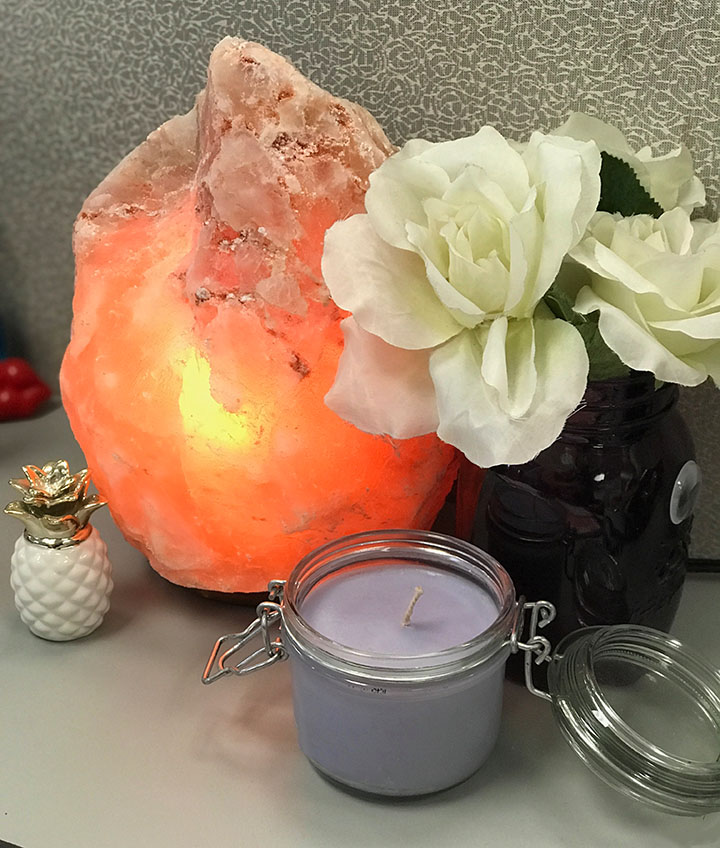
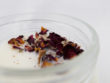
Now that the containers are ready, it’s time to finish up preparing the wax. When the candle wax has completely melted, I added in a few scrapings of the Violet candle color block since I was only making two candles at the time. As you can tell, by the photos, a little goes a long way! At only $0.99 each, they are very economical.
The Pour
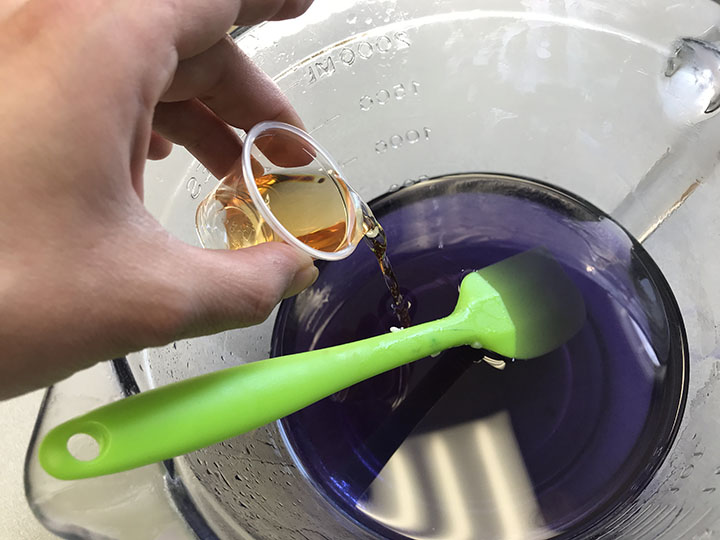
Now that the wax is successfully pigmented, it’s time to add in our fragrance. I premeasured the Lilac and Lilies fragrance oil using an IFRA rate of 9%. This soy wax is formulated to safely hold 7-9% of fragrance oil as part of its total recipe. That means we will be using 8% of our total recipe weight: 15 oz. wax ÷ 8% = 1.34 oz. of fragrance oil. Gently mix in the fragrance oil until fully incorporated.
If you have a thermometer on hand, now is a good time to grab it. Ensure that the wax temperature is at or between 125° – 145° F. Pouring the wax at the proper temperature is important when pouring jar candles because it allows for better adherence to the glass. Try not to splash wax as you pour, but if you do, just let it cool and scrape it up later. Pour wax into each container until the level of wax has reached about 1/4 in. from the top of the container. Allow to cool and do not move the candle! Any agitation to the container can cause trouble to the end product, so make sure where you pour the candle is where you intend to allow the candle to cool.
Hi,
Thank you such an informative lesson. I’m would like to try candle making, as I would like to have several cake candles. Have you a tutorial for this process. Not sure if I can go directly to these or try smaller ones first.
Thank you for any information available,
Diane
great tips just a quick question how long do u have to leave the candle before use?
Hi! Just long enough to make sure it has hardened completely. We usually leave ours for 4-6 hours or overnight in a cool, dark place!