New Conditioner Bar Base from Stephenson-Tutorial
One of our favorite suppliers just dropped a new product and we are psyched! Using this new conditioner base from Stephenson is super easy. Yet, it is a little different from our other melt and pour bases, even from Stephenson, when it comes to how to use it.
Melt and Pour soap bases are a great way to save money on expensive soaps, create more sustainable options, and to control which ingredients you’re allowing to come in contact with your body and hair.
In this case, the newest Stephenson base needs very little work or additives. So that ingredient list is staying small and simple.
Here are the steps you can take to make your very own conditioner bars with our new product!
Step 1:
Remove your melt and pour from its container!
I got a little overwhelmed for a moment thinking about how to get this base out and melted when I first saw it. Just like any other Stephenson base though it is super easy!
All you’re going to need to do is press firmly on the edges of the container (after opening it). You’re going to push in an outward motion towards the outside of the container and do so on all sides.
Once the edges have loosened slightly, you can flip the container over. If you’ve loosened the edges enough the block might actually fall right out. If not, simply apply pressure with your palm or the heel of your hand to the container’s surface until the suction releases. The block will then pop right out!
Step 2:
Using a soap cutter or sharp knife, carefully cut the soap block into manageable chunks. Place in a heat safe bowl or pan.
Step 3:
Melt either over a double boil or in a microwave.
For the whole block, we microwaved it for 2 minutes, stirred and added more chunks, heated for two more minutes, added the rest of the block, and then microwaved for 2 more minutes.
Using the whole 2 lb block produces almost exactly 4 cups of liquid soap when melted.

Step 4:
Add between 0.5-2% fragrance oil based on the amount of the block you used. You can also use essential oil but we’ve found it doesn’t maintain its scent quite as long with essential oils vs. fragrance oil.
Up to you, but either way, stir!
Step 5:
If you wanted to add other oils to the base, this would be the time but the point of this base is that it’s already ready to go!
We recommend, if you’re going to add any oils, that you add about 2 tbsp. rice bran oil per 2 lb. block. Rice bran oil has a wonderful, moisturizing quality.
Honestly, though, it’s not necessary!
Step 6:
Pour mixture carefully into silicone molds. For the most even spread, you can spray the mold with a high percentage alcohol or rubbing alcohol first.
Once they are poured, spray with alcohol to remove the bubbles easily.
Step 7:
Allow up to 12 hours before removing from mold and at least 24 hours before first use.
While Melt and Pours don’t need to cure for 4-6 weeks like Cold Process Soaps, as the saponification process has already been done, they do need to fully harden before you get them wet.
I like to leave mine for a few days at least before using, personally.
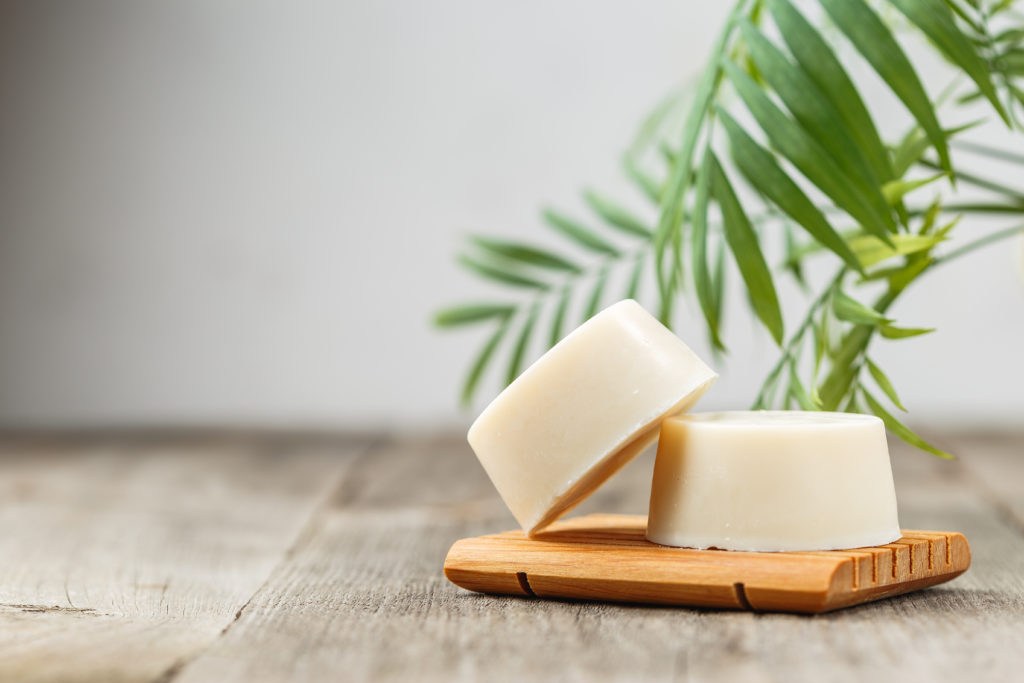
And that’s it! That’s all there is to the new conditioner base from Stephenson.
Enjoy your easy, sustainable, cost-effective conditioner bars and let us know if you love them as much as we do!
Let us know if you try out this recipe or any others from our blog!
Looking for the best soap making supplies? Check out our website for melt and pour bases, molds, fragrance oils, butters, waxes, and more!
Bulk Apothecary is the best supplier of all things soap making!
Bulk Apothecary makes no claims of “expert status” and the company will not be liable for any losses, injuries, or damages from the use of the information found on this website.
As with all products, users should test a small amount prior to normal extended use. If pregnant or suffering from illness, consult a doctor before use.