Melt and Pour Soap Colorants
Last week we discussed choosing a soap base and today I wanted to dive into colorants. Sure, you can make plain white or clear soap, but what about giving it a little more appeal by using the beautiful colors of the spectrum to your advantage? Not only does psychology play into color, but it also helps you create a bar of soap that matches in terms of color and scent. This makes for an aesthetic pleasure for both you and the recipient of your soap.
Color Blocks
Color blocks are without a doubt the easiest way to color melt and pour soap. I highly recommend beginners utilize this painless method before venturing into other types of colorant. I love color blocks because they help you get the most bang for your buck: a little goes a long way. Did you know that just one of our color blocks can pigment up to 10 lbs of clear soap base? Now that’s some concentrated color.
One thing to keep in mind with color blocks: when used in a white soap base, they will yield a pastel color. If you want your soap to be vibrantly pigmented, stay away from white soap bases and only use them as an accent. For example, I created this bar of melt and pour soap using clear soap base – see how vibrant the pink and purple hues are? I only used a touch of melted white soap to “highlight” the soap to define some contrast in the color scheme.
Color blocks are available in matte colors as well as shimmer. Don’t be afraid to experiment with mixing colors – this is how some of the best hues are created! Add small slices of the color block little by little into your melted soap until the desired color is achieved. You can always add more color, but you can’t take color away! It’s also important to note that the smaller the piece of color block, the quicker and more efficiently it will melt and distribute.


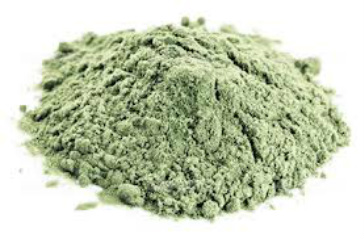
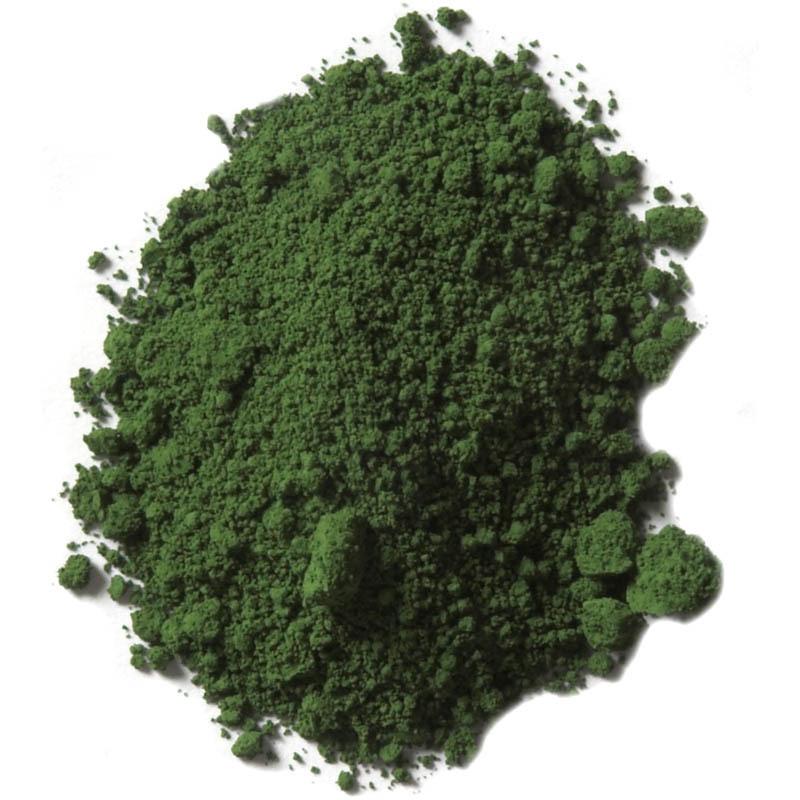
Natural Clay
Utilizing natural clays are a great option for coloring soap because they also typically have some added skin benefits. For example, some customers opt to include clays such as Kaolin or French Green Clay (pictured) to help create better, non-slip shaving soaps. Natural clays should be used at a rate of no more than 1 tsp. per 1 lb. of melt and pour soap base. Clays can help you achieve earthy colors that will be sure to give your soap a rustic look with added skin benefit.
Pigment Powder
Our pigment powder is so brilliantly colored! They lend beautiful hues to melt and pour soap, but I feel it’s best to try this method after you’ve become familiar color blocks as the mixing can be a tad bit tricky.
Ensure that your work area is clean because this stuff is not fun to clean up after a spill! For best results, pigment powder should be dissolved in rubbing alcohol and then mixed into the melted soap base. I use a small disposable cup and about 0.5 fl. oz. rubbing alcohol. Add pigment to the desired color and mix thoroughly. Once distributed, pour the small cup’s contents into the melted soap base and mix carefully. Don’t worry about the odor of alcohol – it will dissipate after the soap is unmolded and cut.
Mica
I love using mica powder. There are so many shades available; the possibilities are endless. Personally, mica is my second favorite (next to the color blocks) because there is so much variety. Many micas are also used in general cosmetics manufacturing, such as eyeshadow and lipstick.
To use mica powder, use the same method of incorporating the powder into rubbing alcohol and then dispersing into soap. Shimmer micas are my favorite and they add such a gorgeous dimension to clear soap in particular. When purchasing mica, make sure it is certified as soap safe.

Vanillin
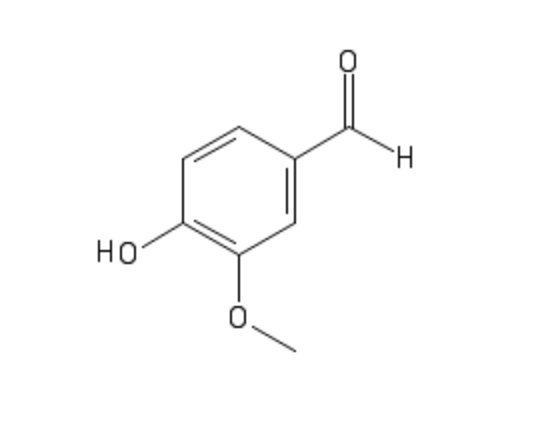
My first experience with vanillin happened unbeknownst to me. I made a batch of soap using our melt and pour base as well as our Pink Sugar fragrance oil. (Side note – I’ve been at Bulk for years and this remains one of my favorite scents ever! Check out the 0.5 oz. bottle – I guarantee you’ll fall in love.) Anyhow, I used a pink melt and pour soap color block to match the fragrance. After I unmolded the soap, I noticed in the following days and weeks that it was turning to a beige-mauve color. I was new to soapmaking at that point and wasn’t quite sure what had gone wrong.
So…. vanilla. One of the first things that come to mind is vanilla extract for cooking, right? Think of the dark brown, concentrated, deliciously sweet substance in that bottle. Vanillin is the compound responsible for giving vanilla its taste and smell. Since vanillin is naturally-occurring, it’s unavoidable in certain fragrance oils, especially those that have sweet, sugary notes. The soap pictured here was made using a vanillin-containing fragrance oil and has been freshly sliced. When vanillin meets the air, it oxidizes and becomes darker. Due to this, it is iportant to plan your recipes and colors accordingly. However, I recommend you use vanillin to your advantage when working with sweet-smelling fragrances. The beige color it gives the soap works perfectly paired with the nature of the sugary fragrance.

Choosing What’s Best for You
There are so many options available to give your soap a magical look. Which will you choose first? If you are an experienced melt and pour soapmaker, what is your favorite method of adding color? Let us know in the comments below and be sure to check out the prior posts in our Melt and Pour 101 Series to stay up to date with our weekly posts!

Should I be concerned about using colors in my soaps given that so many people are sensitive to dyes and such?
You should pay special attention to the needs/sensitivity of your customers; you can try a mix of color and colorless soap to ascertain your customer’s needs.
Pro tip… Take the spoon out of the bowl you’re melting soap in the microwave in. Don’t use the metal lid to a chipotle burrito bowl either. At first I thought it was just the lid, but you’ve got to take the spoon out to
Well… In general you never want to put anything metal in the microwave regardless of what you make.