Home with the kids for the holidays? Need to keep them busy? Want to get some decorating done, too?
Then this post is for you! Check out some of our favorite holiday crafts!
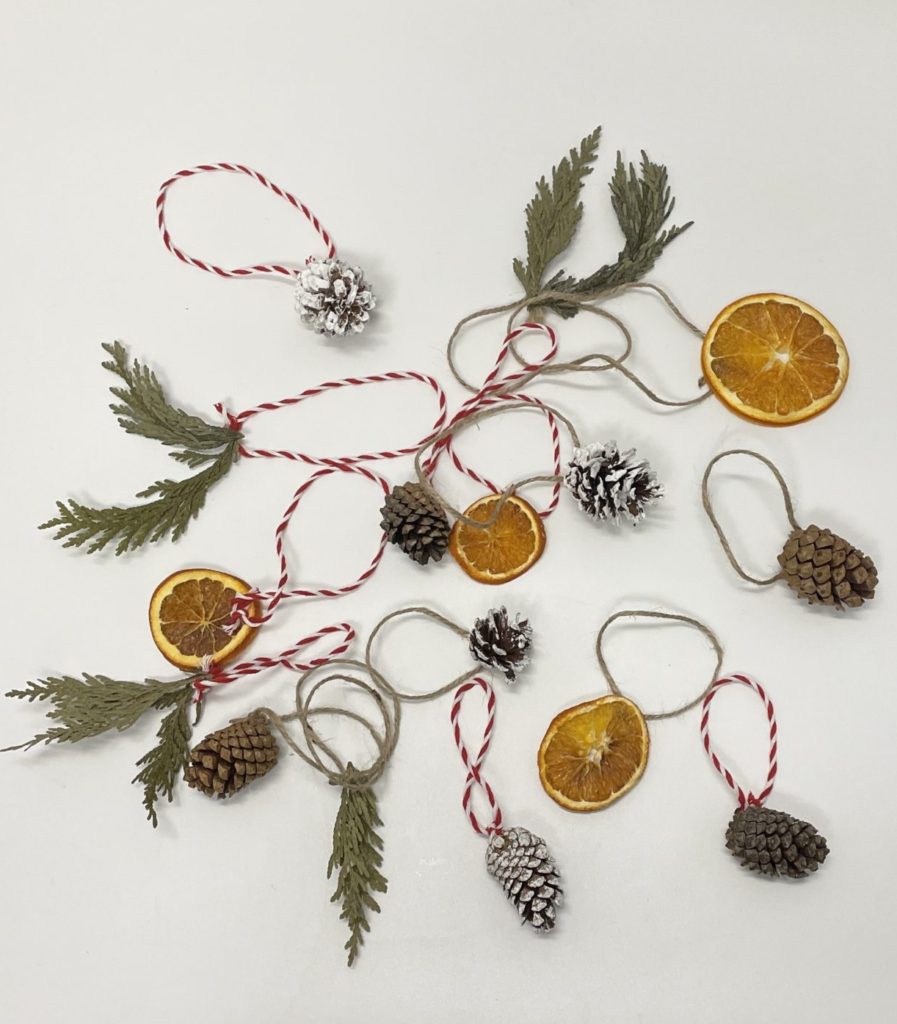
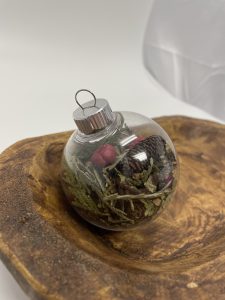
Botanical Ornaments
We saw these on Pinterest (we really are just like you) and thought of some ways we could make them our own!
For one, we have SO many botanicals on our website to choose from. Two, we are full of creative ideas.
We chose jack pine cones, orange slices, cedar tips, and white-tipped lodge cones to make different types of holiday ornaments to show you.
Steps:
- Pick your favorite botanicals and set them out.
- Pick out some string, ribbon, or twine.
- Depending on which item you’ve chosen, poke a hole through it with scissors, thread your choice of string through it, or add hot glue in a small amount.
- Be careful not to burn your fingers! (I gave myself a burn complete with a blister during this craft)
- Let them dry if they were hot glued.
- Add them to your tree, wall, home decor, or even to your wreaths.
- Admire your handiwork!
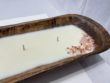
Plastic Ornaments
For these, they probably do involve a trip to the store, but the result makes it worth it! Promise!
You’re going to need to go to Michaels, Joann’s, or the Dollar store to get the “DIY” plastic ornaments they sell. Everyone else is probably using these to put paint or glitter in. Not us! And not you either now!
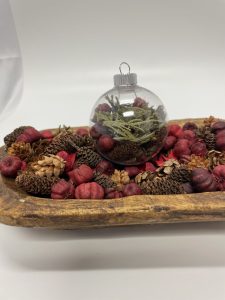
What we’re also going to need are botanicals. We chose our birch cones, cedar tips, and red putka pods. We chose these because the ornament we got could only fit tiny little items through the top nozzle. But if you can find a different kind feel free to mix it up!
Steps:
- Select your botanicals
- Open the top nozzle by unscrewing the cap
- Add your botanicals of choice and (optional of course) glitter if you’d like.
Now you’ve got ornaments that will last for years to come and that can be personalized to have a pop of color, reflect your personality or your kids’, and you had special time together while making them and deciding what to choose!
We love how ours look and hope you enjoy this craft, too.
Tag us in yours if you make them! We’d love to see!
(@bulkapothecary on Instagram and @BApothecary on FB)
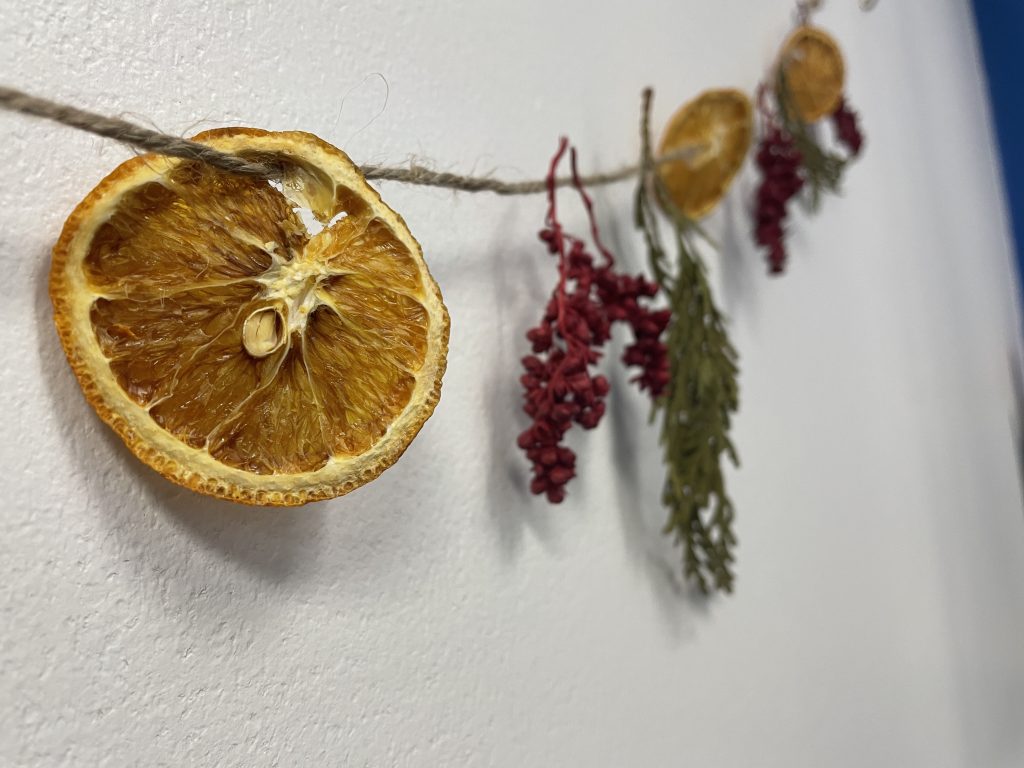
Botanical Garlands
First of all, we love how these look. Second, it’s a super easy craft that kids can help with or you can do by yourself and accomplish fairly quickly.
And the result is a gorgeous, boho chic garland that is sustainable and reusable the following years to come!
You could even add more botanicals in later years if you find items or have anything you think might look cool!
Brainstorm more ideas about this too like adding the letters to “Merry Christmas” or “Joy” in between botanicals, polaroids, or art work, too.
Make it your own!
Steps:
- Choose botanicals and twine/ribbon
- Heat up a hot glue gun if necessary with the items you chose
- Cut the string/twine/ribbon to your desired length
- Add botanicals at regular intervals
- Add hot glue (carefully, without burning fingers) to keep those botanicals along the string in those evenly spaced intervals and allow to dry/cool
- Hang in desired area!
Uses:
- Holiday home decor on mantlepieces or walls
- Holiday decor for your cubicle at work (mine is pictured)
- Use as garland around your Christmas tree
Let us know if you make this craft or any others from our blog!
Looking for the best crafting supplies? Check out our website for the best rustic, boho, or botanical supplies for your crafting and so, so much more.
Bulk Apothecary makes no claims of “expert status” and the company will not be liable for any losses, injuries, or damages from the use of the information found on this website.
As with all products, users should test a small amount prior to normal extended use. If pregnant or suffering from illness, consult a doctor before use.